
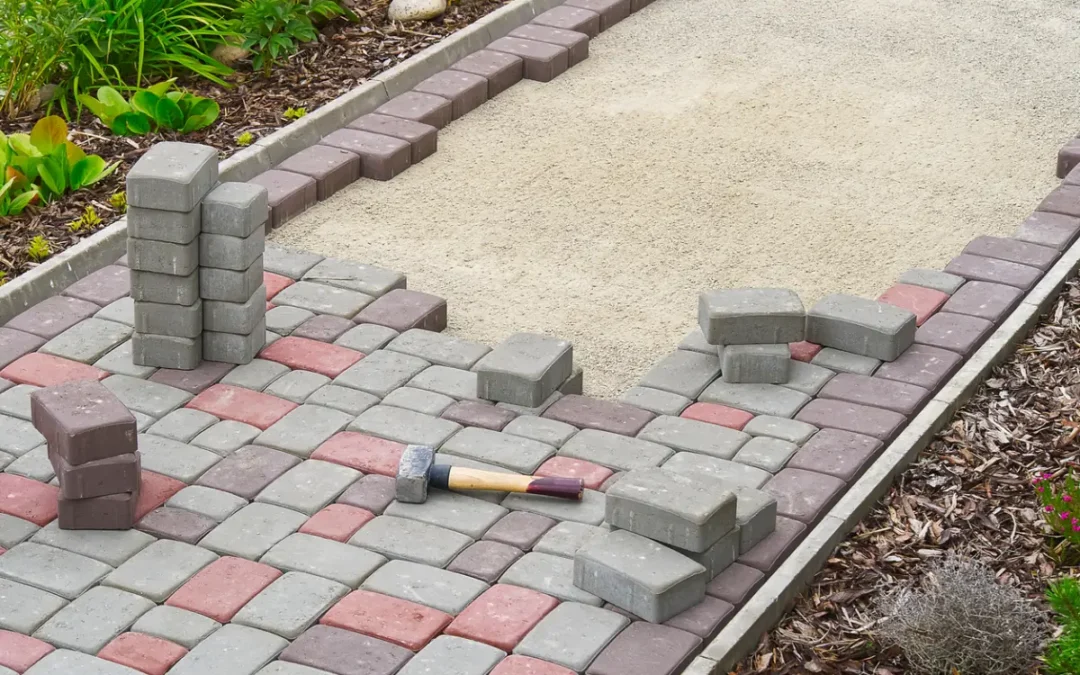
Laying a paver sidewalk is a rewarding project that enhances the beauty and functionality of your outdoor space. Here’s a step-by-step guide to help you through the process.
Step 1: Planning and Design
Begin by planning the layout of your sidewalk. Consider the path’s shape, width, and the type of pavers you want to use. Sketch a design and measure the area to determine how many pavers you’ll need.
Step 2: Gather Materials and Tools
You’ll need the following materials and tools:
- Pavers (concrete, brick, or stone)
- Sand (polymeric sand is recommended)
- Gravel or crushed stone
- Landscape fabric (optional)
- Edging material (plastic or metal)
- Shovel
- Rake
- Level
- Rubber mallet
- Compactor (plate compactor or hand tamper)
- Garden hose or string line for marking
Step 3: Prepare the Site
Clear the area of grass, weeds, and debris. Use a shovel to excavate the soil to a depth of about 6-8 inches, depending on the thickness of your pavers. Ensure the base is level and compacted.
Step 4: Install the Base
Add a layer of gravel or crushed stone to the excavated area, about 4-6 inches deep. This layer provides drainage and stability. Use a compactor to compact the gravel thoroughly.
Step 5: Add Sand Layer
Spread a 1-inch layer of sand over the compacted gravel. Use a rake to level it out, ensuring a smooth surface. This sand layer will help with leveling the pavers.
Step 6: Lay the Pavers
Start laying the pavers from one end of the sidewalk, following your design. Place each paver tightly against the next, using a rubber mallet to tap them into place. Leave a small gap between pavers for sand filling.
Step 7: Cut Pavers as Needed
For edges and corners, you may need to cut pavers to fit. Use a wet saw or a chisel and hammer for clean cuts.
Step 8: Fill Gaps with Sand
Once all pavers are laid, spread polymeric sand over the surface. Sweep the sand into the gaps between the pavers. This helps lock them in place and prevents weed growth.
Step 9: Compact the Pavers
Use a plate compactor to gently compact the pavers, ensuring they settle into the sand. Be careful not to damage the surface of the pavers.
Step 10: Final Touches
After compacting, add more sand to the gaps if necessary. Lightly mist the surface with water to activate the polymeric sand, which will harden and secure the pavers in place.
Conclusion
With careful planning and execution, your new paver sidewalk will not only enhance your landscape but also provide a durable and attractive pathway for years to come. Enjoy your handiwork!